
Documentation
Sculpting
Three nodes
Sculpting in Tessera is procedural like everything else, and designed so an AI can sculpt like an artist:
refinegives a mesh enough even resolution to sculpt.sculptapplies a list of brush strokes written as data (JSON).sculpt_detailadds hand-made wear in one click, by material.
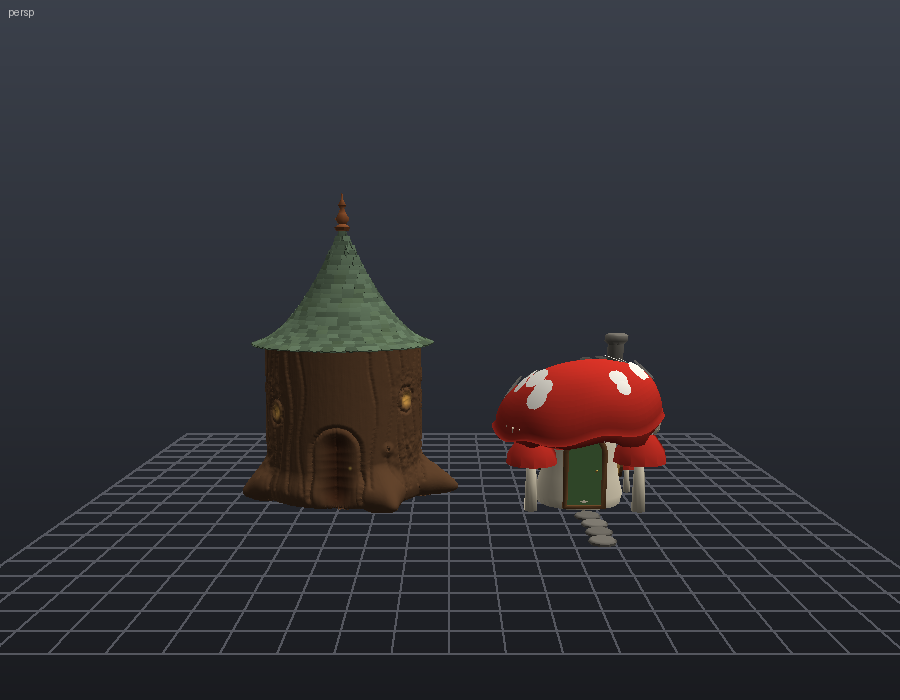
refine
Crack-free adaptive subdivision: it splits only edges longer than max_edge (metres), so big flat walls get even triangles while small parts stay light. Colours and materials are kept. max_triangles is a safety cap. Smaller max_edge = more detail to sculpt, and a heavier mesh. sculpt refines automatically by default (auto_refine), so you only need refine for explicit control.
sculpt: strokes as data
The strokes parameter is a JSON list. Strokes apply in order, each on the result of the previous one. Coordinates are in world space; each dab snaps to the nearest point on the surface, so you only need to be roughly on it. One point is a dab; several points make a stroke along a path.
Other parameters: auto_refine and resolution (refine first; 0 = brush radius / 3), mask (a numpy expression over P / N limiting the sculpt, for example P[:,1] > 1.0), seed (for the noise brush), and curve_brush / curve_radius / curve_strength for curve strokes.
Stroke fields
| Field | Type | Default | Meaning |
|---|---|---|---|
brush | string | draw | One of the brushes below |
points | [[x,y,z], …] | — | Path of the stroke. One point = a single dab |
center | [x,y,z] | — | Shorthand for a single dab (use points or center) |
radius | metres | 0.2 | Brush radius |
strength | -1..1 | 0.5 | How strong; negative pushes in instead of out. For paint: opacity |
falloff | string | smooth | smooth, sharp or linear edge of the brush |
spacing | fraction | 0.3 | Distance between dabs along a path, as a fraction of the radius |
delta | [x,y,z] | [0, 0.2, 0] | grab only: how far to move the grabbed area |
scale | metres | radius / 2 | noise only: size of the noise features |
color | [r,g,b] 0..1 | [0.5, 0.3, 0.2] | paint only: vertex colour to paint |
Brushes
| Brush | What it does | Typical use |
|---|---|---|
draw | Pushes the surface out along its normal (in with negative strength) | Building up forms, carving shallow recesses |
inflate | Swells the surface along its normals | Bulges, cheeks, puffy walls |
clay | Adds (or removes) material up to a plane above the surface, flattening as it builds | Blocking in masses, layered strokes |
crease | Pulls toward the stroke path and pushes in: a sharp groove | Cracks, plank joints, wrinkles |
pinch | Pulls the surface toward the stroke path | Sharpening ridges and edges |
flatten | Moves points onto the average plane under the brush | Flat faces, planes, worn tops |
scrape | Like flatten, but only removes what sticks out above the plane | Shaving bumps, chiselled faces |
smooth | Relaxes the surface (more strength = more passes) | Softening, cleaning up |
grab | Moves the area around the first point by delta | Big shape changes: lean, stretch, bend |
noise | Displaces along the normal with fractal noise of size scale | Bark, rough stone, organic breakup |
paint | Paints vertex colour color; strength is the opacity; does not move points | Moss, dirt, stains, colour variation |
Examples
[{"brush":"inflate","center":[0,1,0],"radius":0.4,"strength":0.5}][{"brush":"crease","points":[[-0.5,0.8,0.5],[0,0.9,0.55],[0.5,0.8,0.5]],"radius":0.08,"strength":0.6},
{"brush":"smooth","points":[[-0.5,0.8,0.5],[0.5,0.8,0.5]],"radius":0.12,"strength":0.3}][{"brush":"grab","center":[1,0,0],"radius":0.5,"delta":[0.4,0,0]},
{"brush":"noise","center":[1.2,0,0],"radius":0.6,"strength":0.5,"scale":0.08},
{"brush":"paint","center":[0,1,0],"radius":0.5,"strength":0.8,"color":[0.25,0.4,0.12]}][{"brush":"draw","points":[[0,0.5,1],[0.3,0.5,1]],"radius":0.15,"strength":-0.8,"falloff":"sharp"}]To find coordinates on the surface, select the node and look at the Geometry tab (bounding box) or the Spreadsheet (point positions). The AI uses cook, inspect_attributes and render for the same purpose.
Strokes along curves
Connect curves (open polylines, for example from curve, line or spiral) to the second input of sculpt. Every curve becomes a stroke path using curve_brush (default crease), curve_radius and curve_strength. Use this for carved lines, grooves, cracks and wood joints that follow a designed path.
Working in passes
- Big forms with
grab,inflateandclay. - Secondary forms with
crease,pinchandflatten. - Detail with
noise,paintand finallysculpt_detail.
Using one sculpt node per pass keeps each pass easy to tweak, bypass and compare. Look at the result between passes.
sculpt_detail
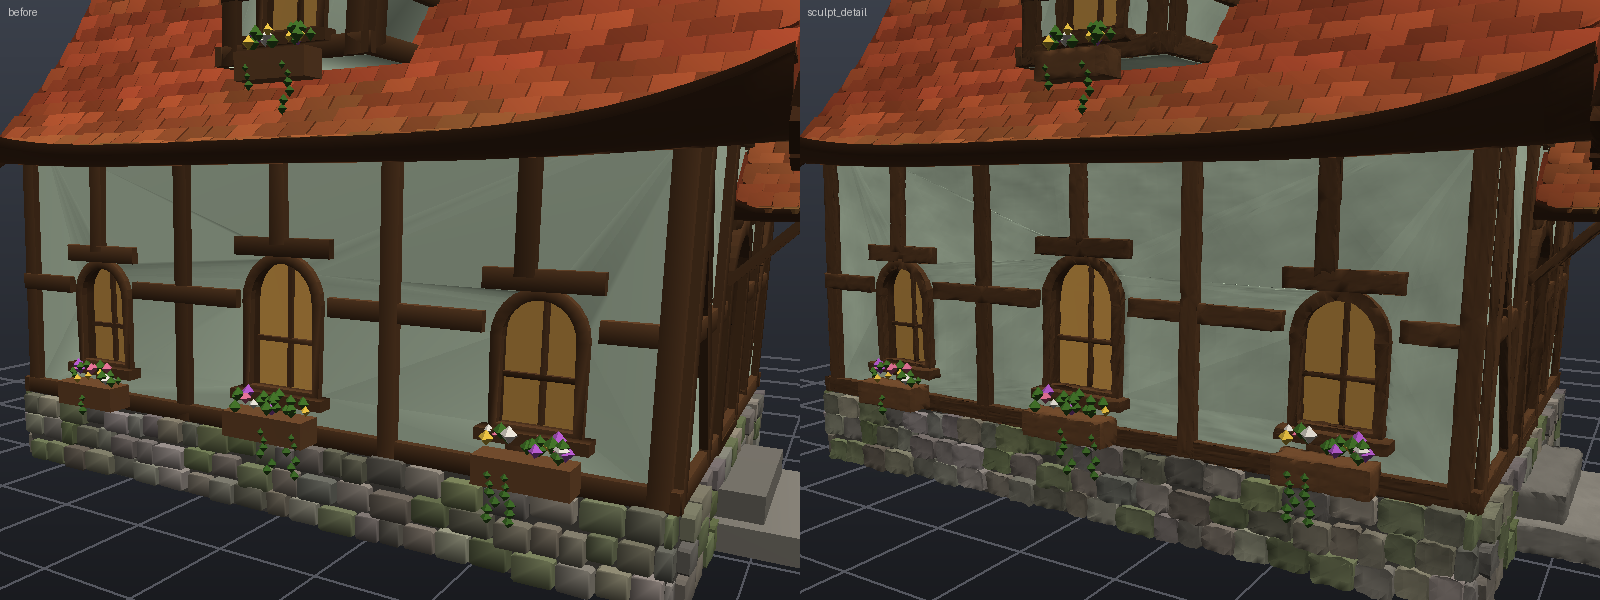
One-click hand-made wear for assets that have a primitive material attribute (all building and fairy nodes do). It refines, then displaces by material: wood gets grain along each beam and chipped edges, stone rough rubble faces, plaster soft lumps, roof tiles warp and chip; glass and foliage stay clean. It also shades worn edges.
amount: overall strength.edge_wear: chipped, rounded edges and corners.grain: wood grain.resolution: refinement edge length (smaller = finer and heavier).refineandmax_trianglescontrol the refinement.
Use it after any fairy_house, timber_house or storybook_roof, or simply switch on sculpted on fairy_house / fairy_village.